We introduced you briefly to our International Formula Master mod for rFactor2. As we mentioned the model was originally build in 2009 and we'd like to show you a comparison with of the original model with the one we will use in the mod.
In these shots you can spot the differences between the two models. One of them was made in the year 2009 and features the 2008 spec of the car. The other was overhauled 2012 and features the 2009 spec of the car. The differences in the spec include a pretty big fin on the engine cover, new endplates for the rear wing and brake ducts on the front and rear. Other adjustments were fixing normal issues on the whole car and updating the modeled joint lines on the body to CTDP standards we developed during our F1 1994 modeling.
Category: Cars
Inside F1 1994: Measuring Williams
We welcome Radu Teo, a new modeler who has started to work on the new Williams model. The first preview we have for you is a bit different than usual. Over the years we did alot of research on the cars to get as many technical data as possible. This also involves blueprints (if possible, usually impossible), specifications and measurements. Very often we find contradictory sources and especially the wheelbase is something of regular debate for many cars. Williams is another prime example, as we have found 3 different measurements for the wheelbase: 2990mm / 2950mm / 2890 mm
Radu did among others the attached photo comparison to find the correct wheelbase. The picture gives 2.84m,which is shorter than any of our sources. Unless we find something canon and concluding, we will probably opt for a compromise of 2.89m.
Edit: And another one.
Helmet overflow pt 3
Between the years took a milestone and mediocre and juluka finished all helmets for the mod. Next up, we have to get one of our driver bodies up to speed to get driver suits done.
Helmet overflow pt 2
Juluka is on a roll and continued the past week with the helmets of Blundell, Gachot, Alboreto, Katayama, de Cesaris, Suzuki, Berger, Belmondo, Brundle, Hakkinnen, Hill, Ratzenberger and Lehto.
Helmet overflow
In the past 2 weeks I couldn’t catch up with Juluka spewing out helmets at rapid-fire. He finished Wendlinger, Morbidelli, Larini, Martini and Coulthard. Meanwhile Andy and erale are working on Jordan and Larrousse. Not much to show there, as most changes are tedious detail stuff regarding suspension, engine and other technical details.
Getting started to … Texture
Number two in our series of Tutorials to get you started into Modding. Today our topic is textures.
How do I start?
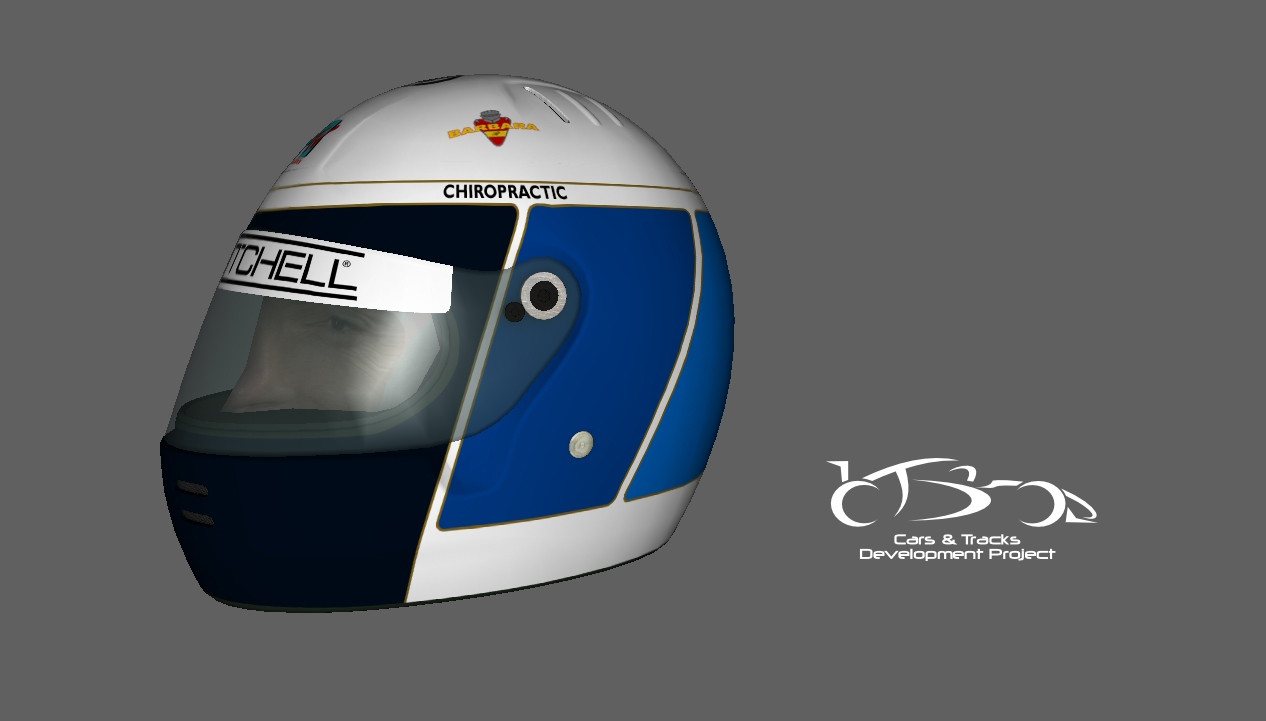
Compared to modeling, creating textures is rather simple and all good modding teams provide templates to get you started painting car designs. This is a rather autodidact approach, but a valuable nonetheless.
Turns out there are very few dedicated tutorials for car painting. They all require some basic understanding of Photoshop.
- Spray booth
- Car skinning
- Car Skinning Tutorial for Simbin series using Adobe Photoshop
- Putting a skin into rFactor (Video-Tutorial)
- Modding tutorials regarding textures by CTDP
What’s next?
Get cracking and get experienced.
Be flexible in your approach to painting.
Before I repeat more platitudes, let’s get to some special skills that have a lot of potential and aren’t used very widely so far.
Using vectors
Textures are pixel-based with discrete width and heights, however Photoshop offers neat vector functionality. Instead of drawing lines, you can set up vector paths, that describe the areas and lines of the car design. Those lines are as smooth as can be and it’s very easy to change lines. With painted pixels scaling and distortion becomes very tedious and you lose a lot of quality. Instead, you can change the path and the affected area updates automatically.
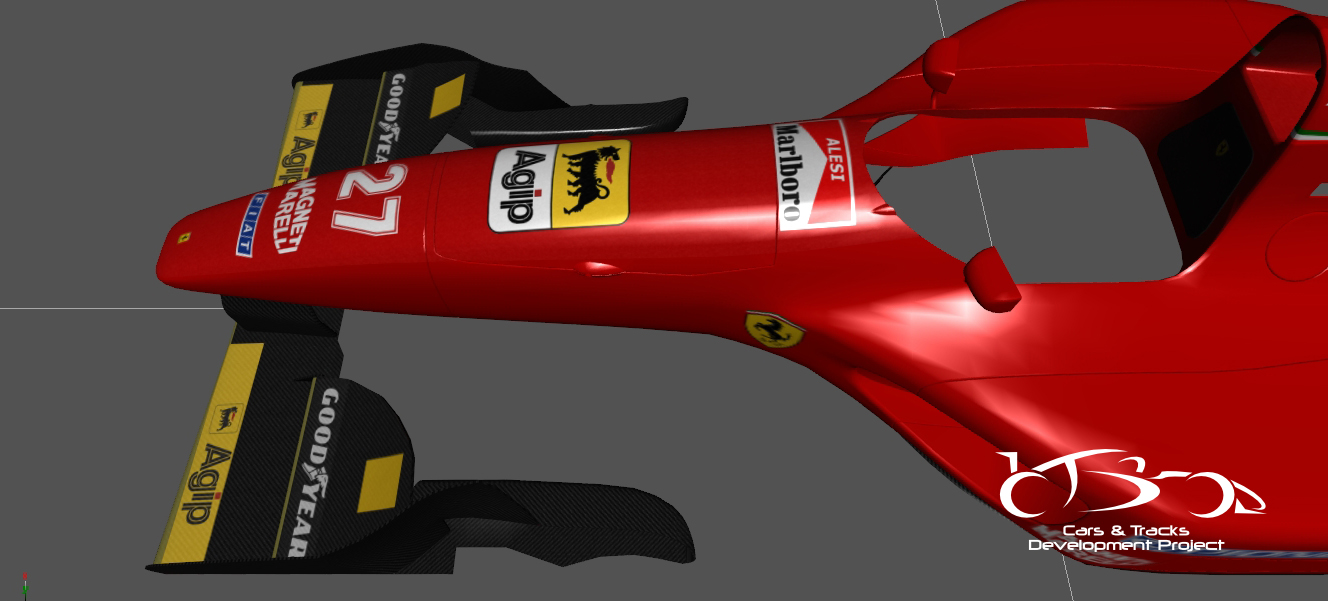
One of the difficulties of painting are the edges between mapping surfaces. These seems can become tedious, especially if you have a logo that goes right across such a seam. This seperates the skilled painter from the lazy one. The latter tries to work around those bits and rather puts the logo someplace else instead of positioning it correctly. The same can be applied on design lines. Using vectors helps tremendously as you can work more exact – and again, change lines without quality loss.
Working with Vectors can be a bit messy in Photoshop and it takes some time to get used to it, admittedly. However, the benefits outweigh this by far.
Scripting
Imagine the situation the 2D artists had with the 2006 mod. Each car had 3 textures, each had roughly 50 layers with all designs and logos for 10 track variants on average. The effort of saving each texture variant, each shader maps was quite large and it quickly becomes a boring, repetitious and error-prone process. For the 1994 mod, we will do it differently using a method we should have looked into a long time ago.
Photoshop supports scripting. You can use Javascript to write linear workflows to create a build script for your texture.
This script switches defined layers on and off and specified states to files. The script is rather simple, the execution is still slow, but it far beets the manual work.
In case of our Ligier, the result are 16 texture files in TGA format. Saving right to DDS does not work, as the nvidia plugins can not be used in the script. To convert all TGA files to DDS you can use Dropps, part of my DDS-Utils. This will convert all files in one batch based on the predefined settings.
Scripting has been one major improvement of our workflow at CTDP.
No-Gos
At last, some no-gos we suggest you never do.
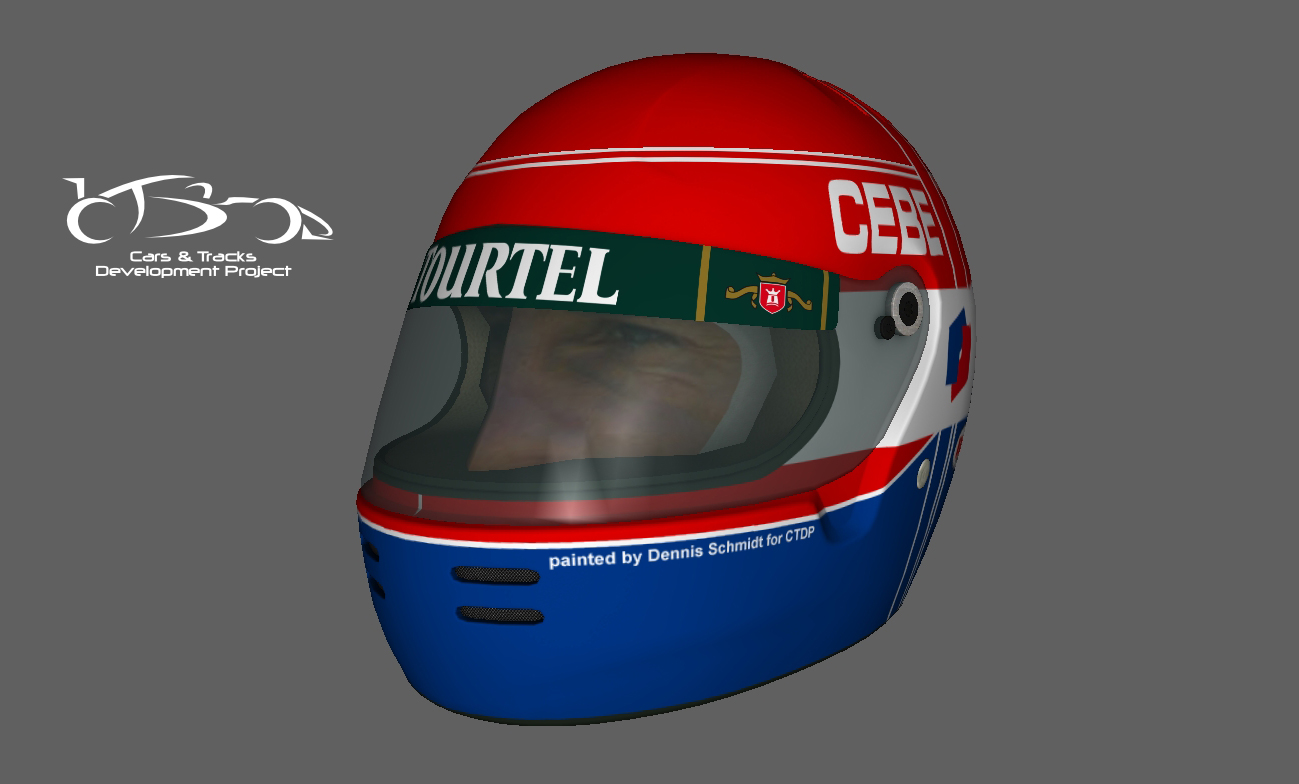
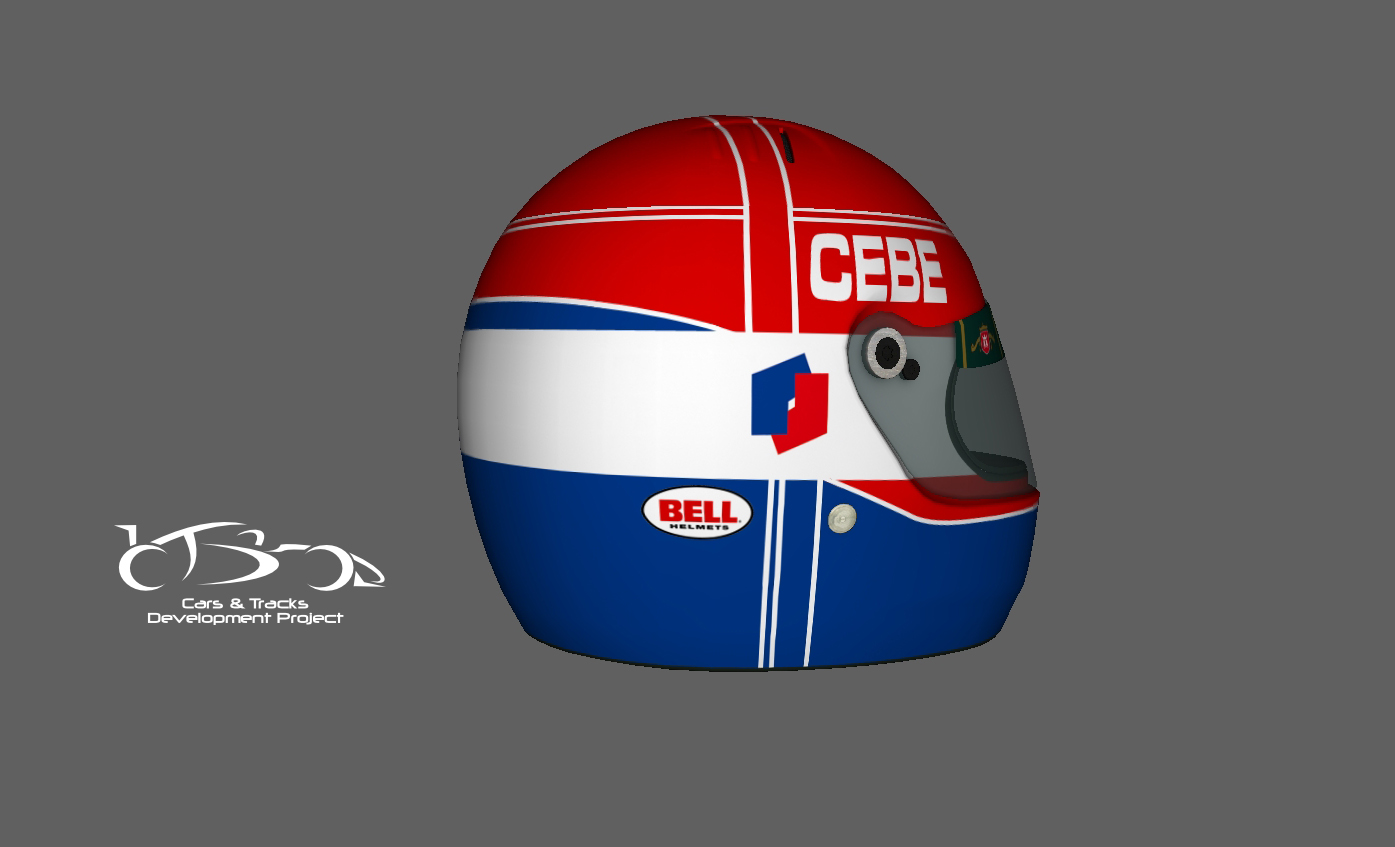
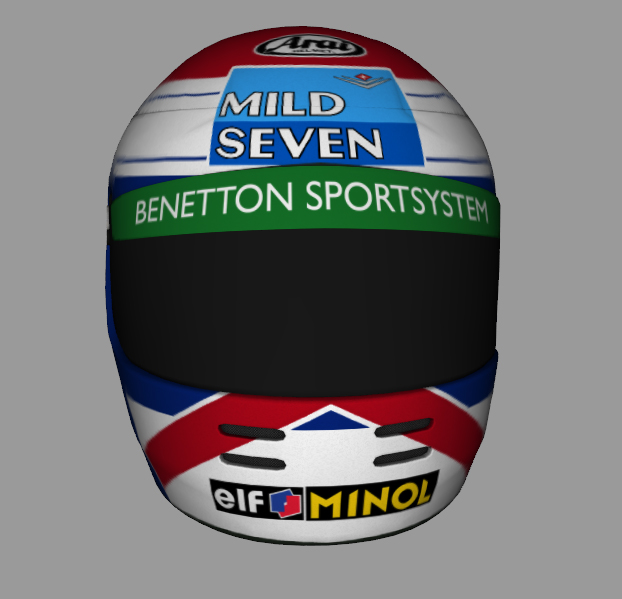
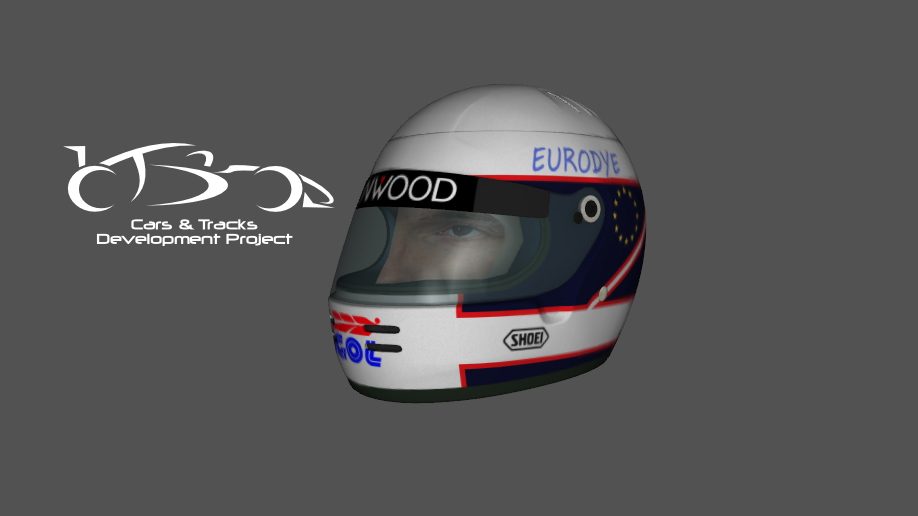
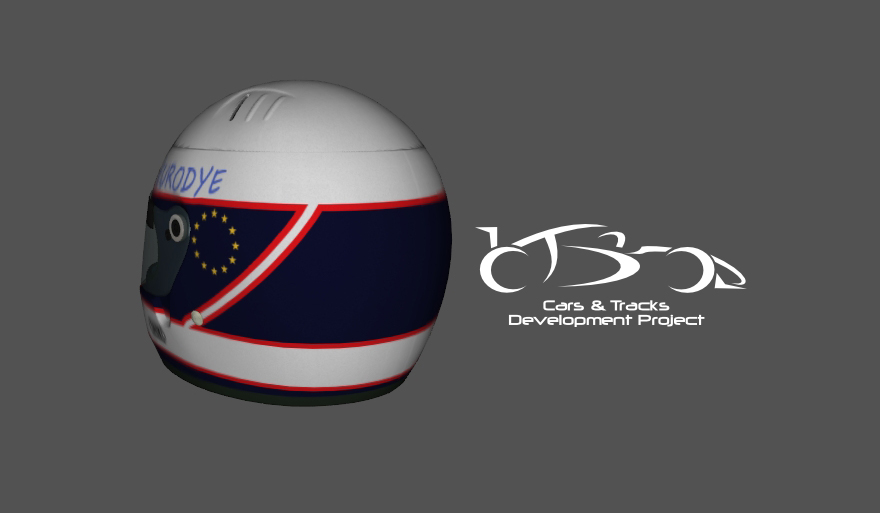
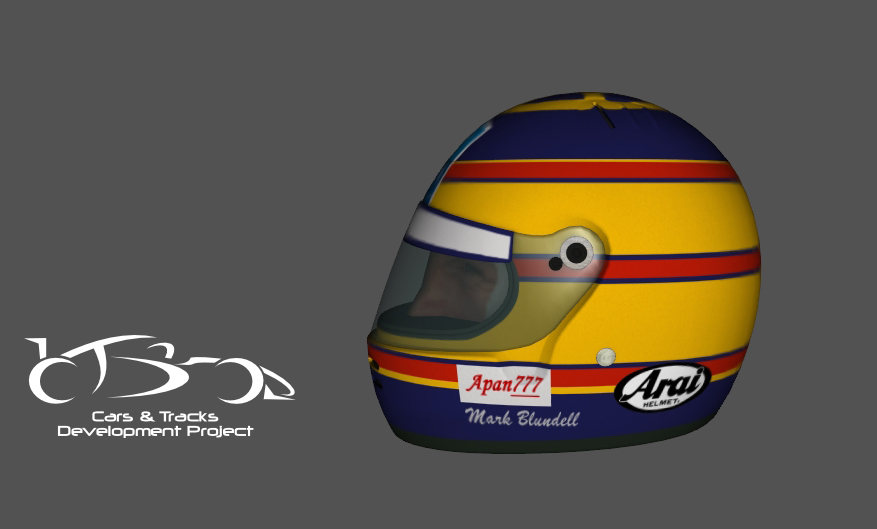
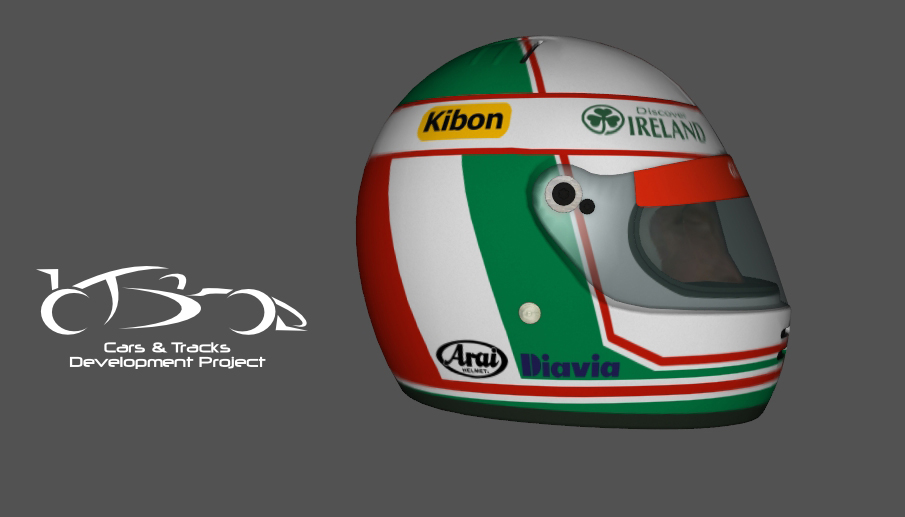
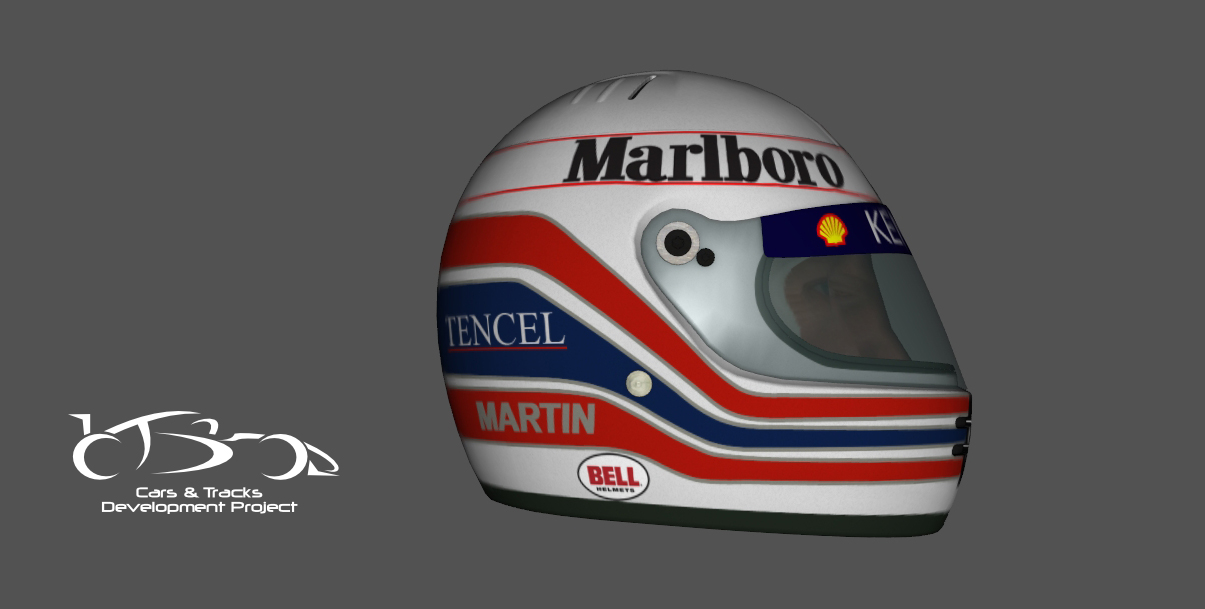
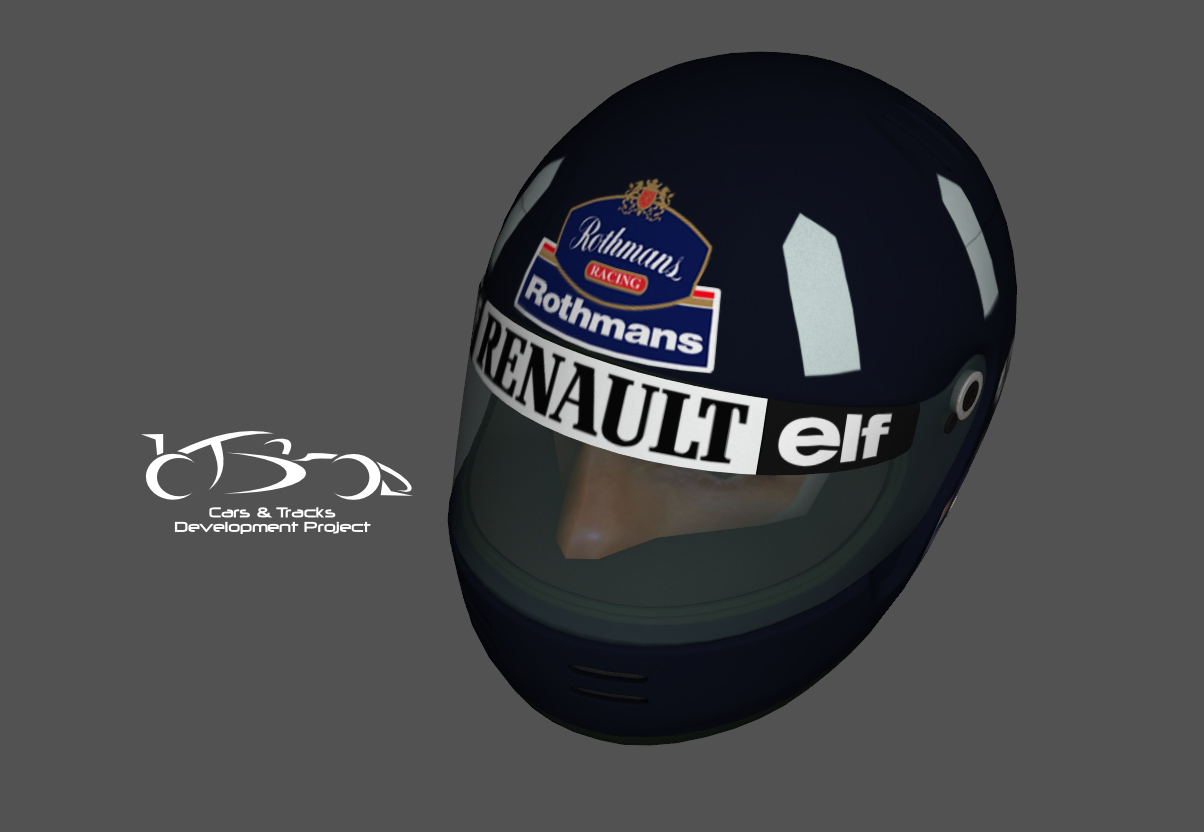
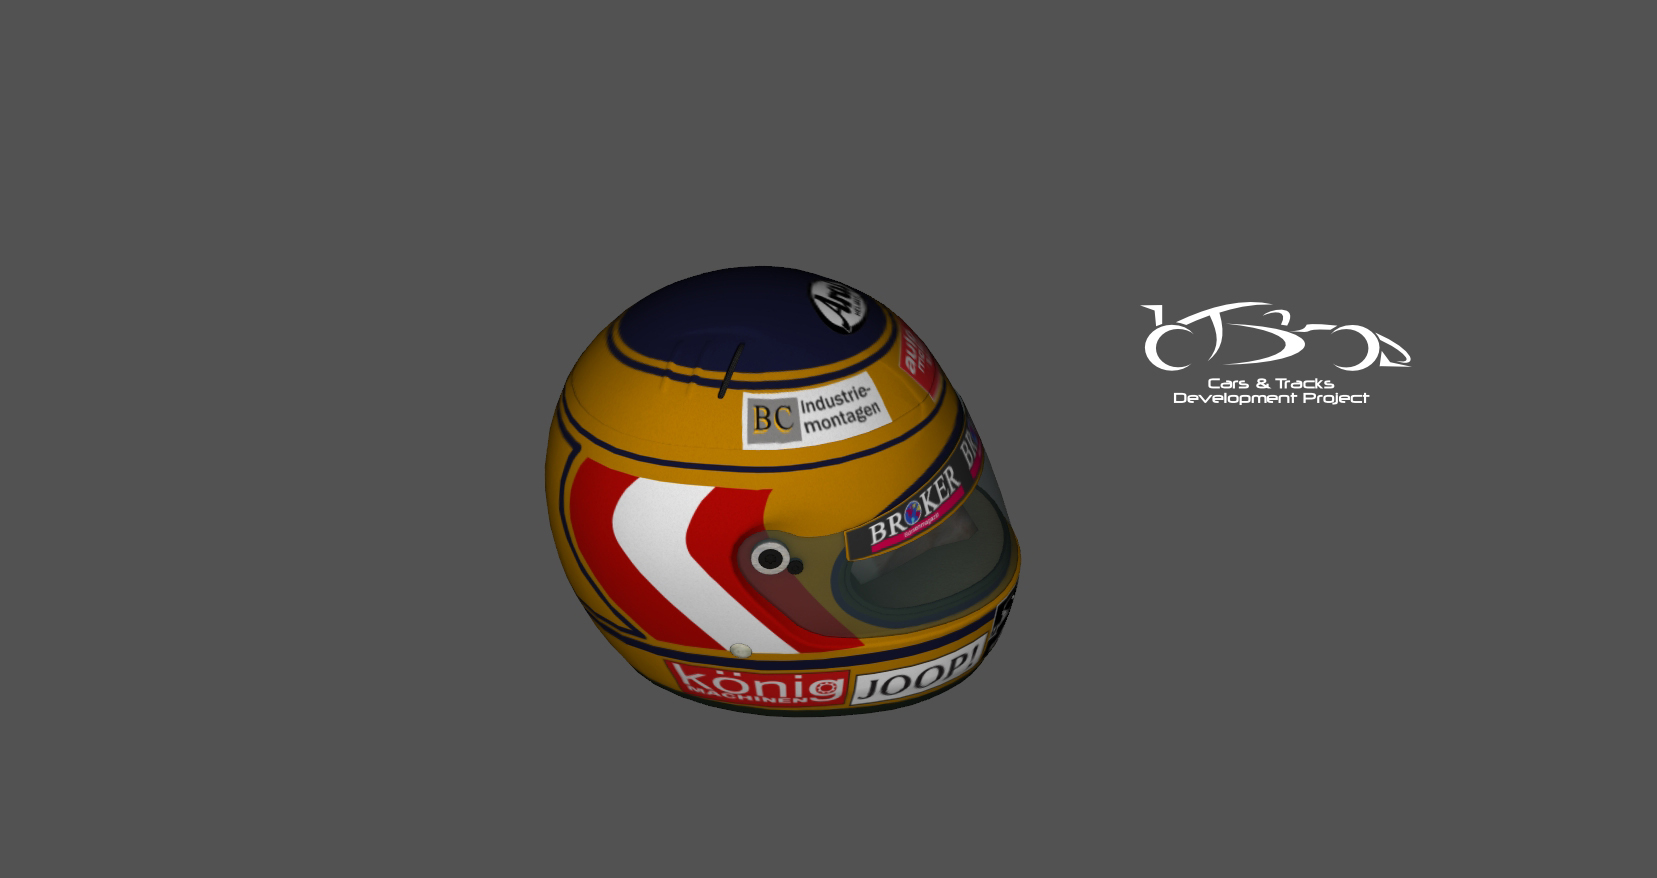
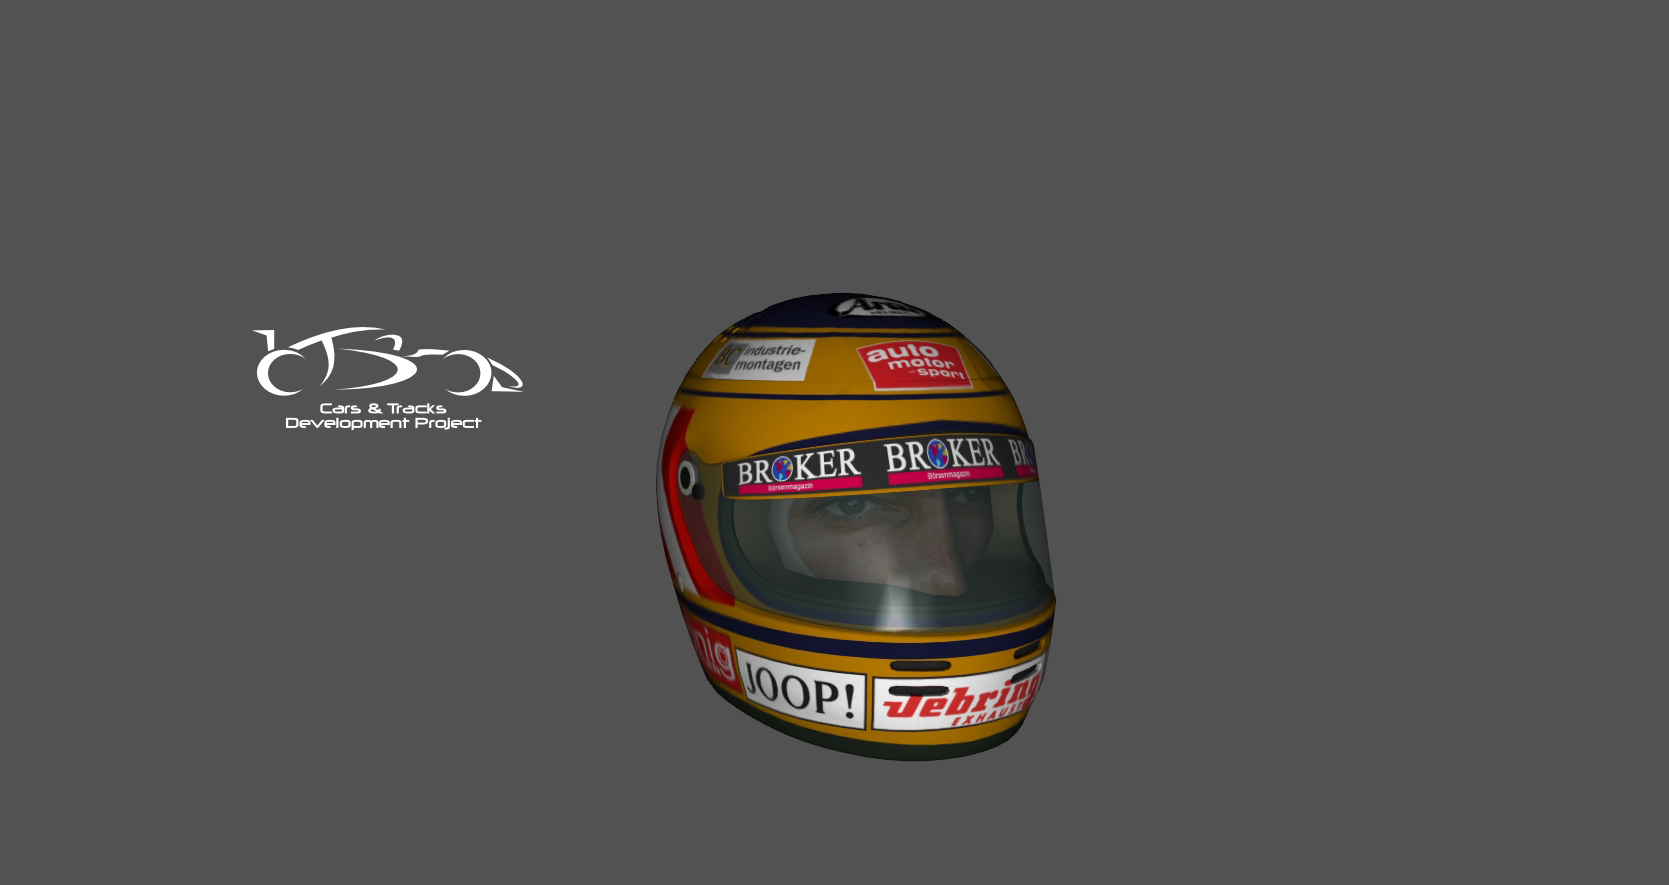
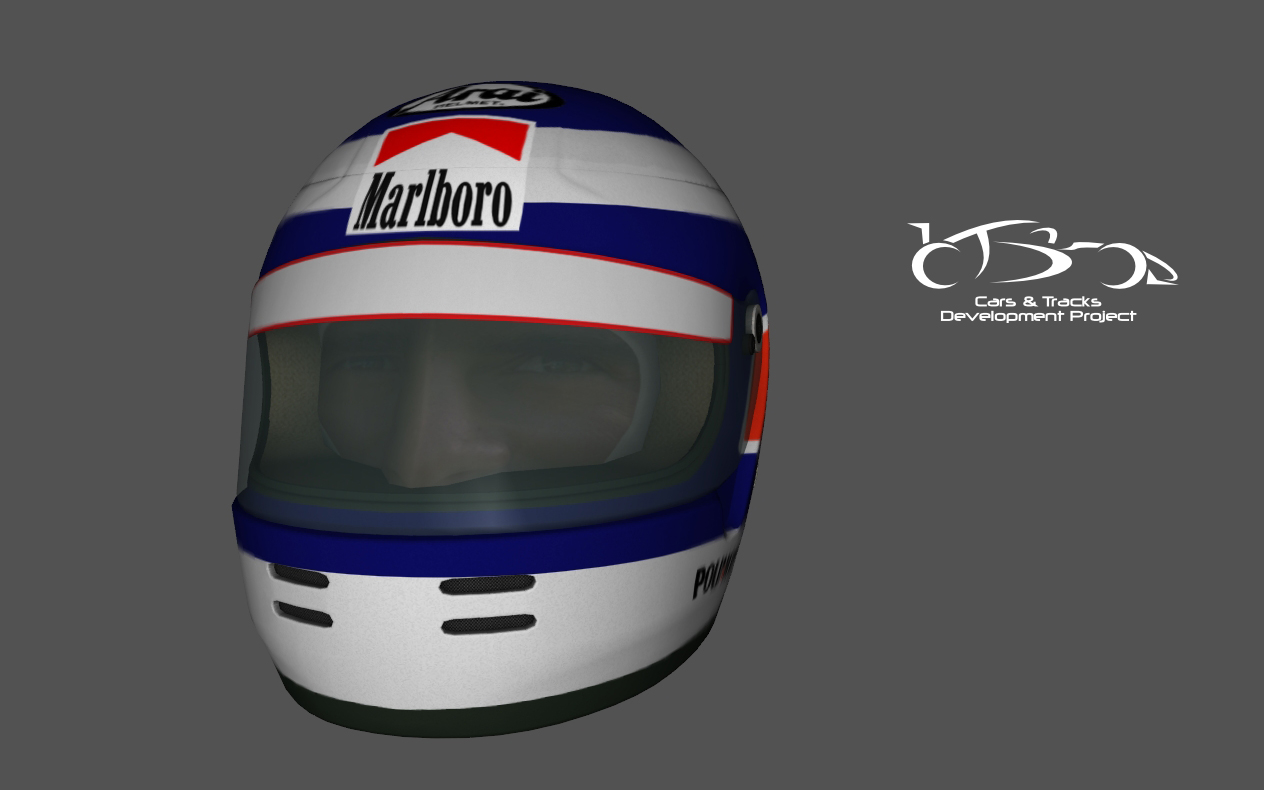
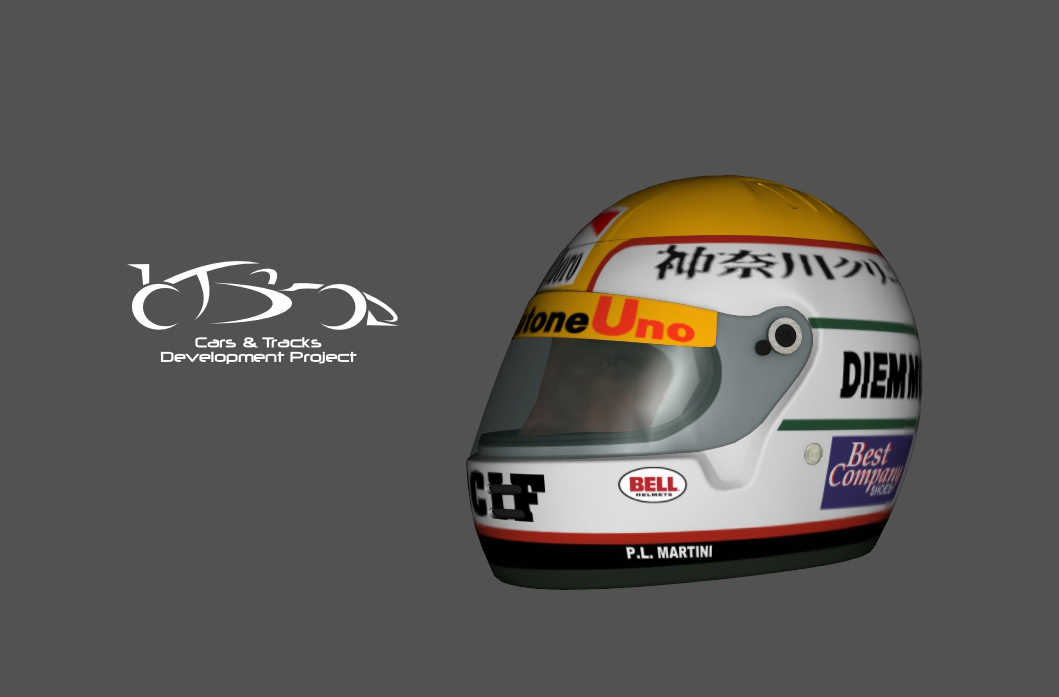
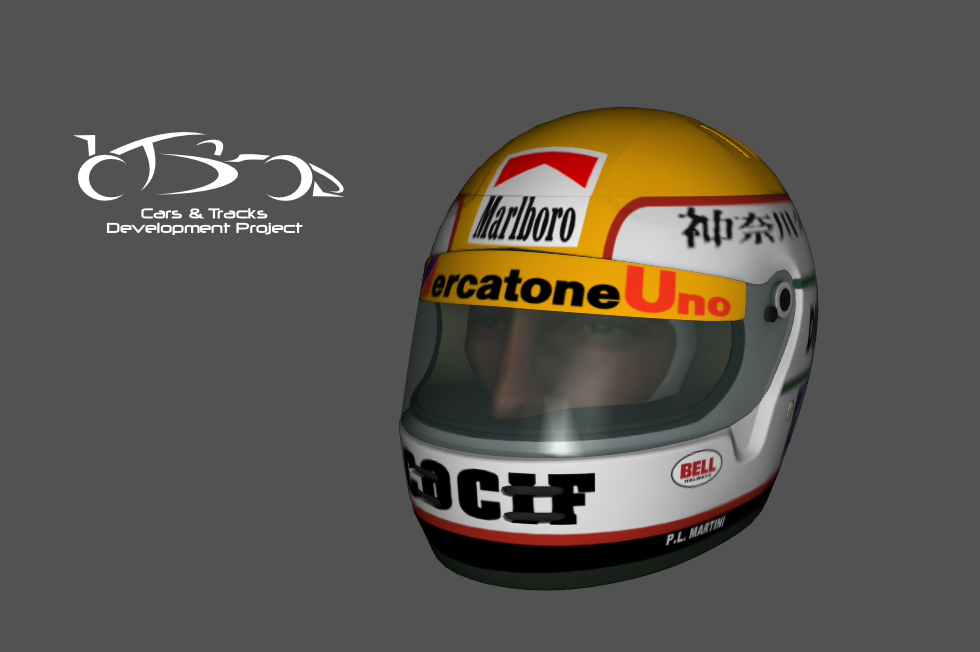
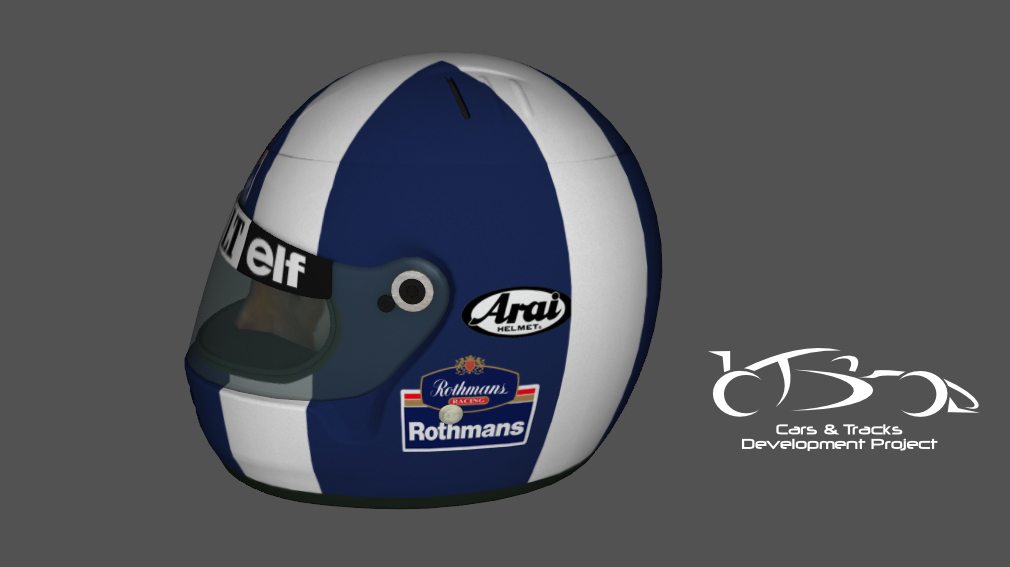
A difficult part about skinning a car is finding the right logos. And even more difficult: finding them in a suitable size and format. We have this problem very often working on F1 1994, especially with the smaller teams like Larrousse or Pacific. They had many sponsors, for which it is impossible to find proper logos on the internet. However, you should never ever resize a small logo to make it bigger. It will hurt the quality and leave you to ridicule.
Something else to be concerned about are the alpha channels. Alpha layers determine the amount of reflection on a certain part of the texture. Generally, the alpha layer has the same mapping as the texture. Alpha channels are greyscale only and do not support colors. The general rule is: the darker an area on the alpha layer is, the less light does it reflect. So, black will cause no reflection at all; white will mean the biggest possible reflection and is in most cases completely useless. The more reflection you have, the less you will see ingame of your actual car livery. See also this tutorial teaching what’s up with alpha channels in rFactor.
- rFactor Alpha Channel Tutorial (Video-Tutorial)
We take questions! If you are stuck with a problem or have questions related to modeling or textures ask them and we will adress them in a future post here on the blog.
Herbert and Wendlinger helmets 1994
Since finishing Ferrari James ‘juluka’ Bendy has also been working on more helmets. Today Johnny Herbert (Lotus) and Karl Wendlinger.
Jordan 1994 WIP
While Stefan is working on Larrousse, Andreas ‘Neidryder’ Neidhardt continued to work on the Jordan. The basic shape of the car is done and we are tweaking details on the carbody. However the suspensions you see are still placeholders and will be replaced this weekend.
In other news, James Bendy finished work on the Ferrari textures for now. He’ll paint the Jordan next. Larrousse will be painted by Dennis ‘mediocre’ Schmidt.
Ferrari 1994 texture WIP
James ”juluka’ Bendy has had a very productive weekend so far working on the Ferrari textures. See the first pass here – this is without any shadows, shaders and no dirt yet. Alot will happen until we see the final textures ingame.
Larrousse 1994 WIP – an ontological paradox
Fabian was right, the car in the last post was the Larrousse 1994. A totally unremarkable car and the only thing worth noting is, that it drove with 2 very distinct liveries in the first 4 races, which Dennis ‘mediocre’ Schmidt is going to paint later.
Today erale frightened me. He said he had finished the model for Larrouse. I didn’t believe him, since Ferrari took several month to finish and you just don’t build cars in 3 days anymore. He said his time machine finally worked and he traveled into the future to take the final model back to the present. Now, what bothers me are two things: first, why didn’t he go to even further into the future to bring back a mapped model (erale claims he had only Plutonium for one trip, but we all know Mr Fusion will be available for domestic use within 4 years!) and secondly, assuming erale never deletes the model by accident and keeps the file till the end, who actually build the model? And if it has mistakes, can I blame the universe?
Anyway, erale got so scared by this onthological paradox, that he deleted the model to build it himself. Here are the surviving photos of the future finished car. Hope posting this doesn’t rip open the space-time-continuum, AGAIN!