IFM-2009 status report

A little status report to get you up to speed.

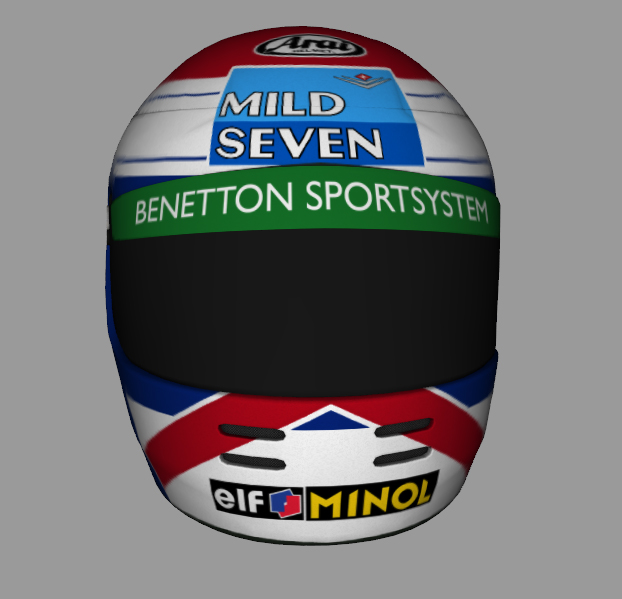
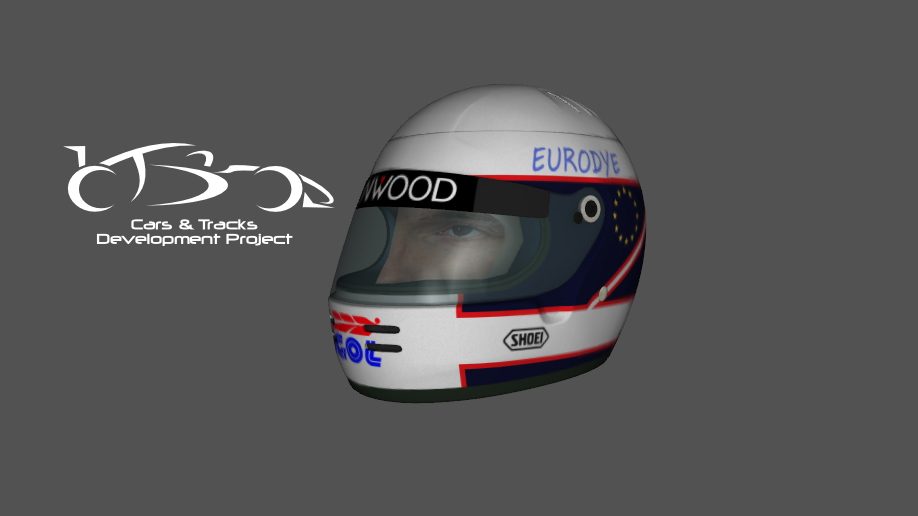
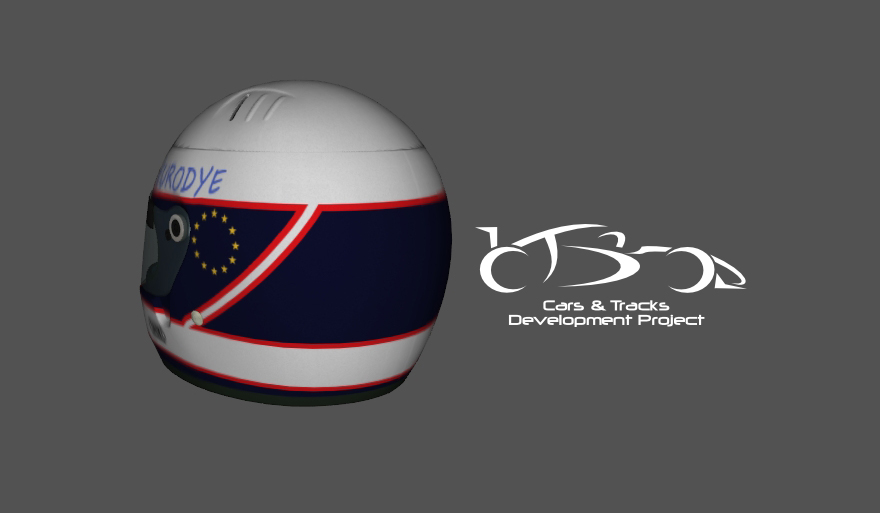
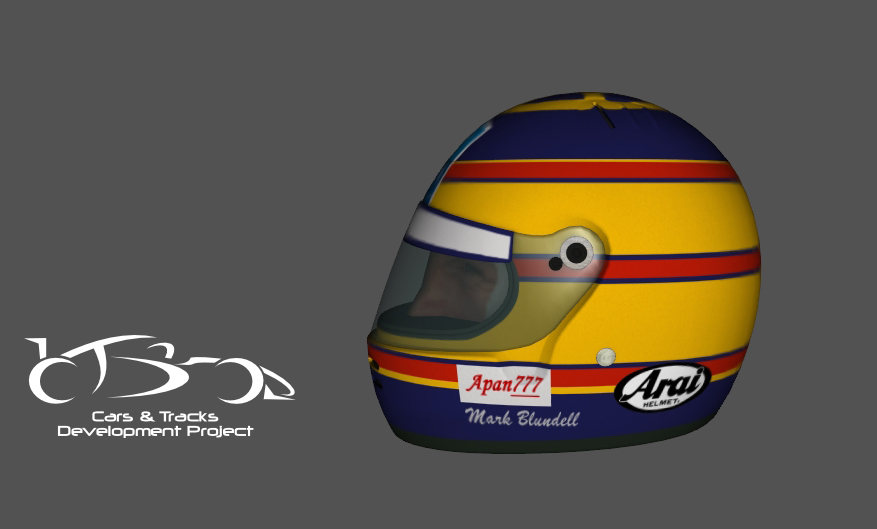
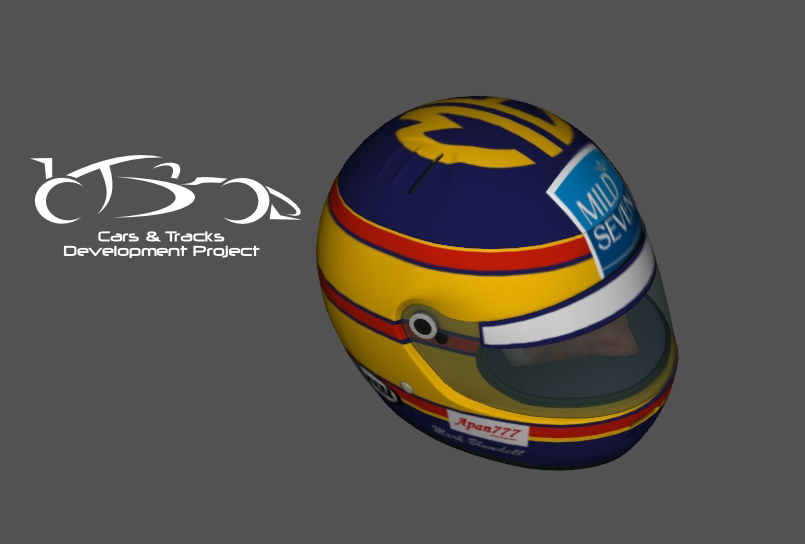
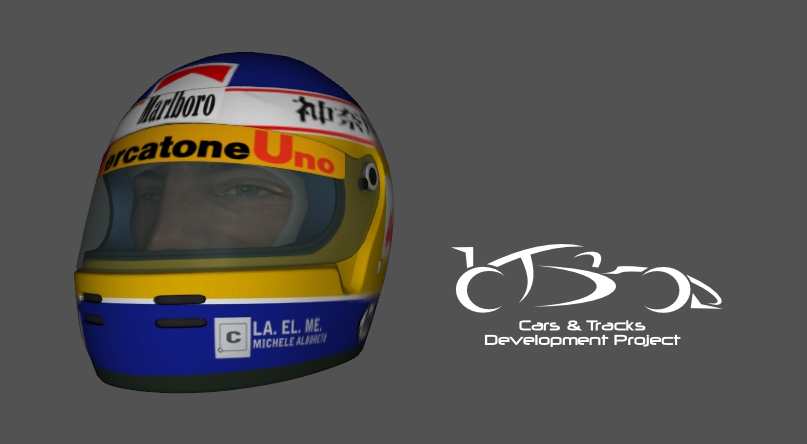
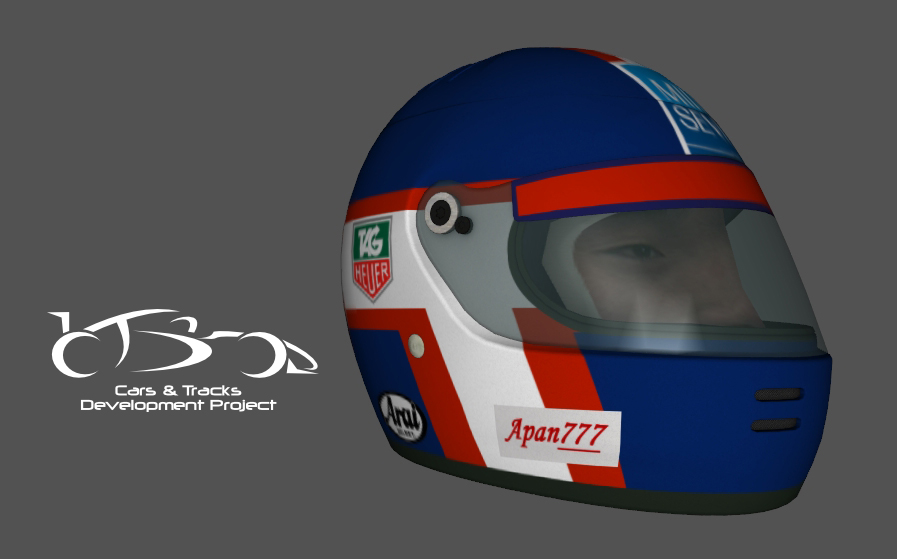
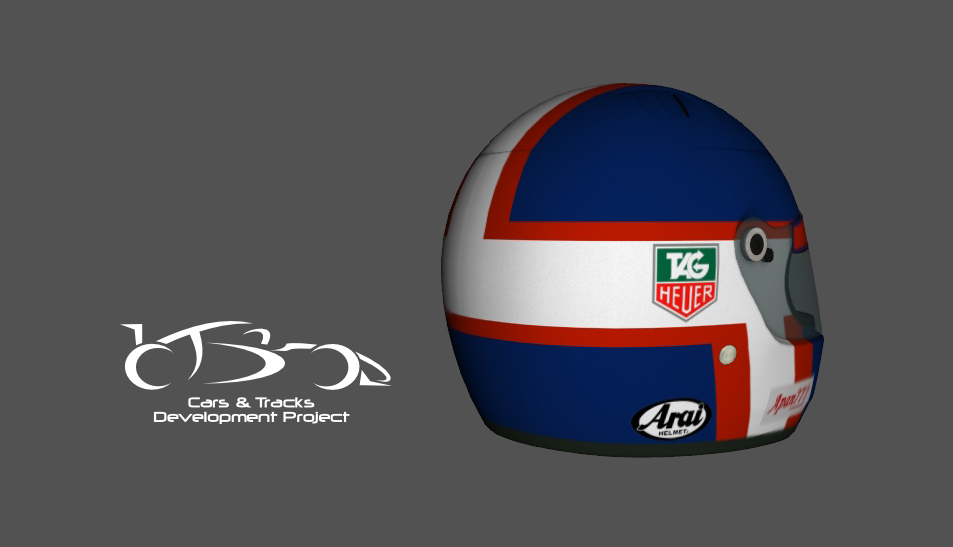
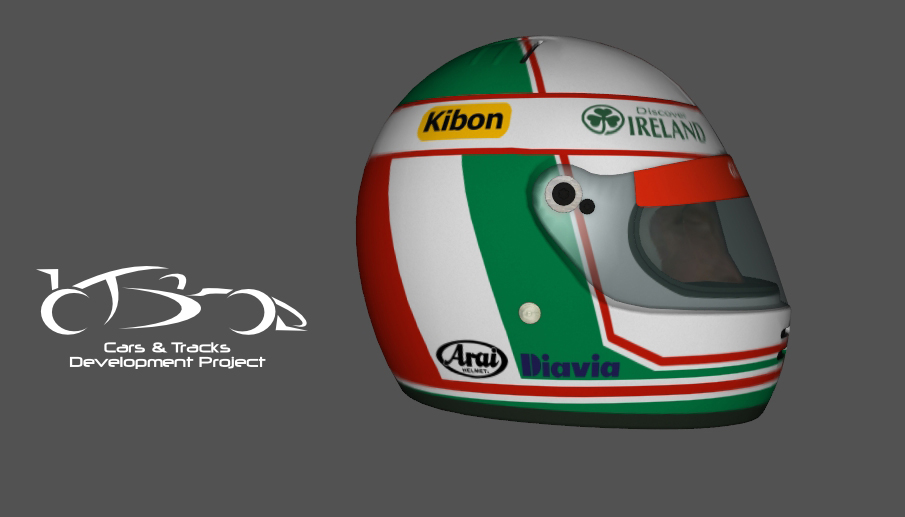
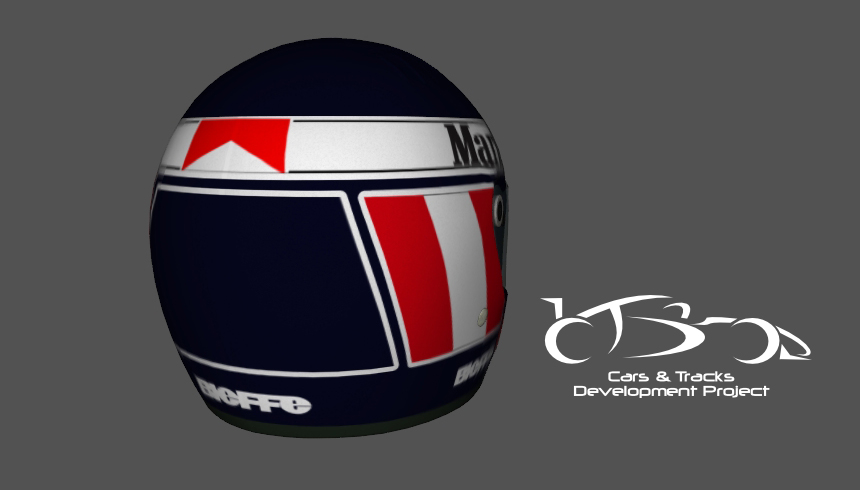
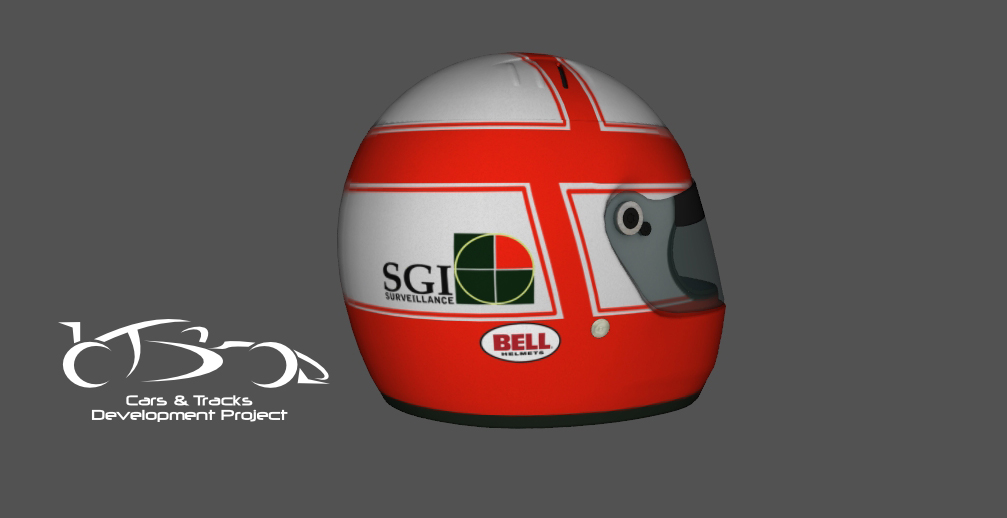
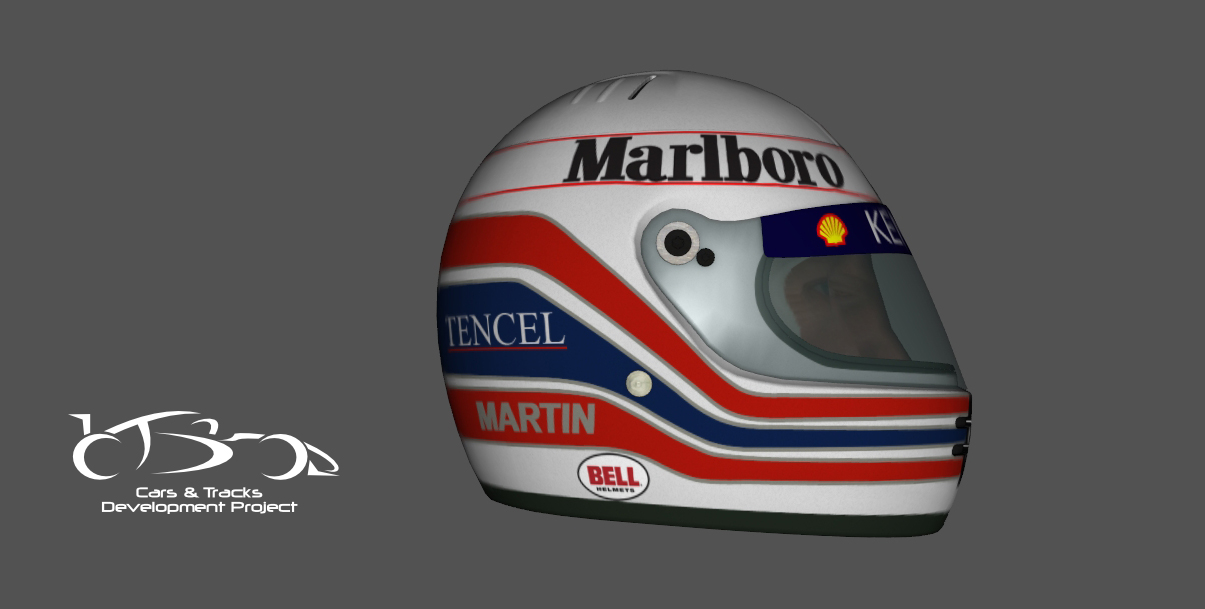
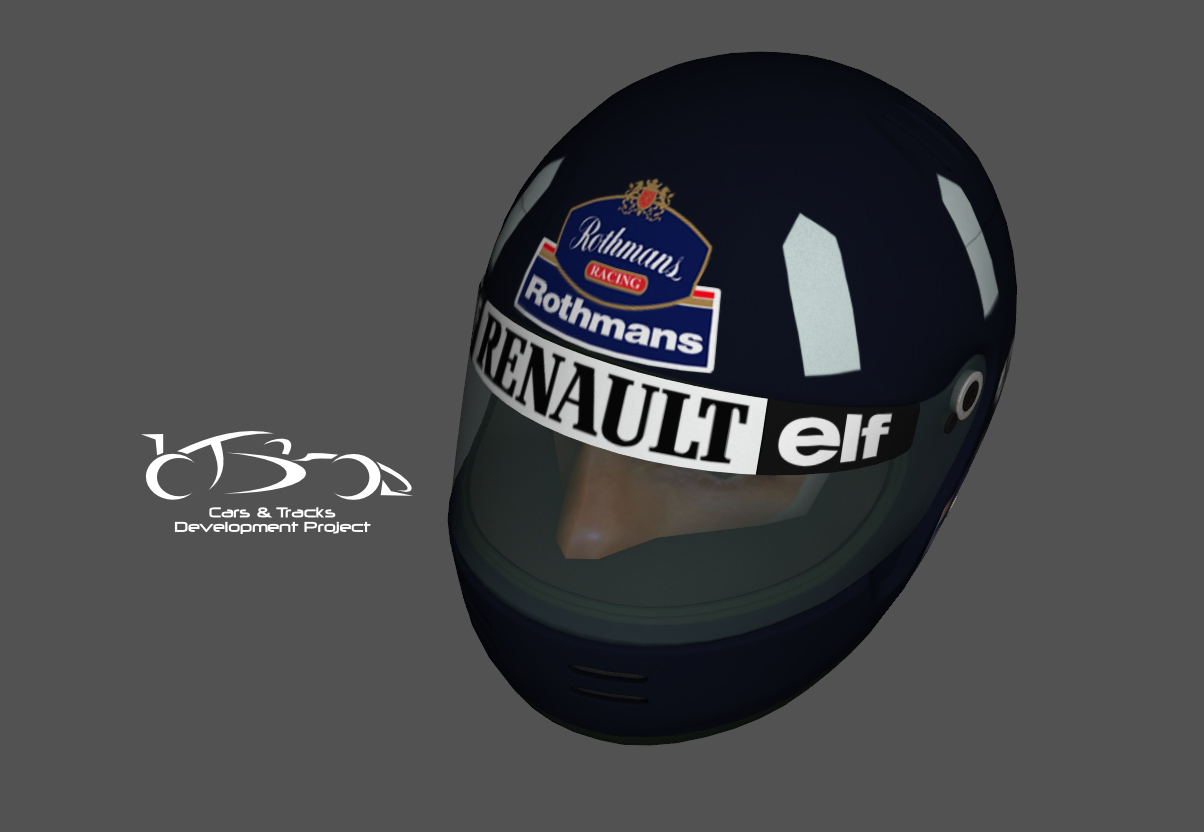
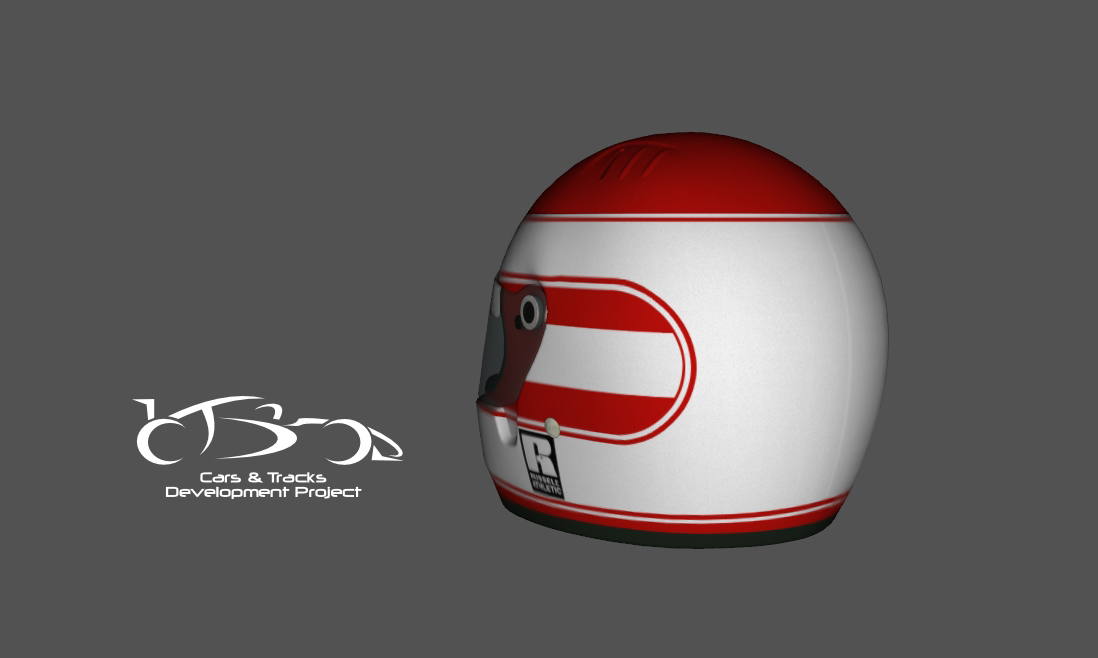
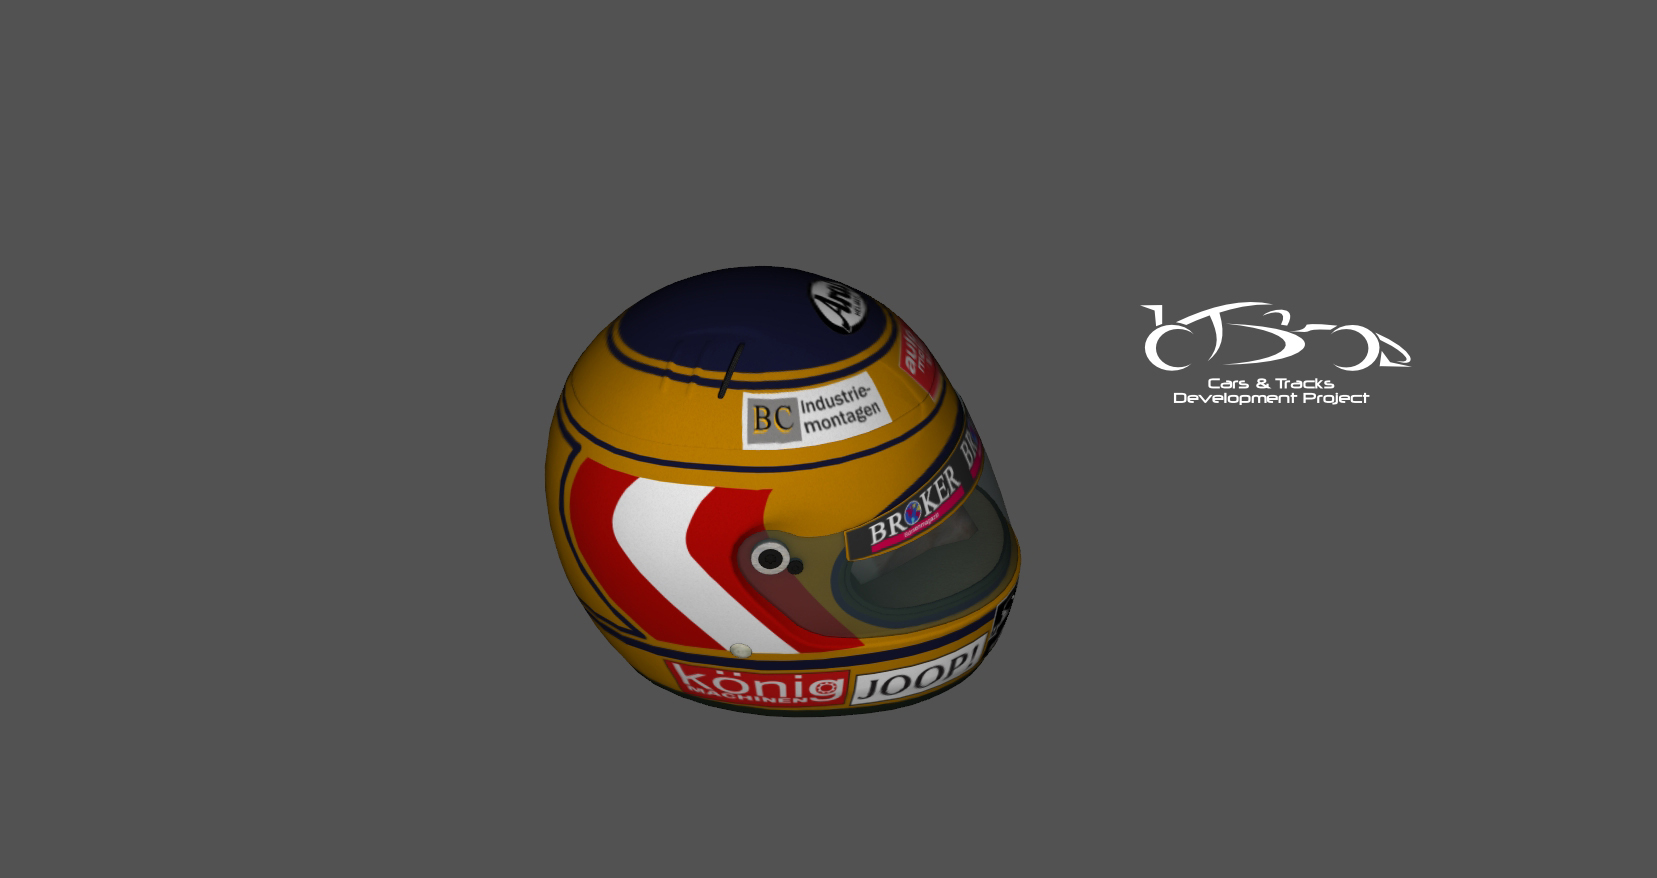
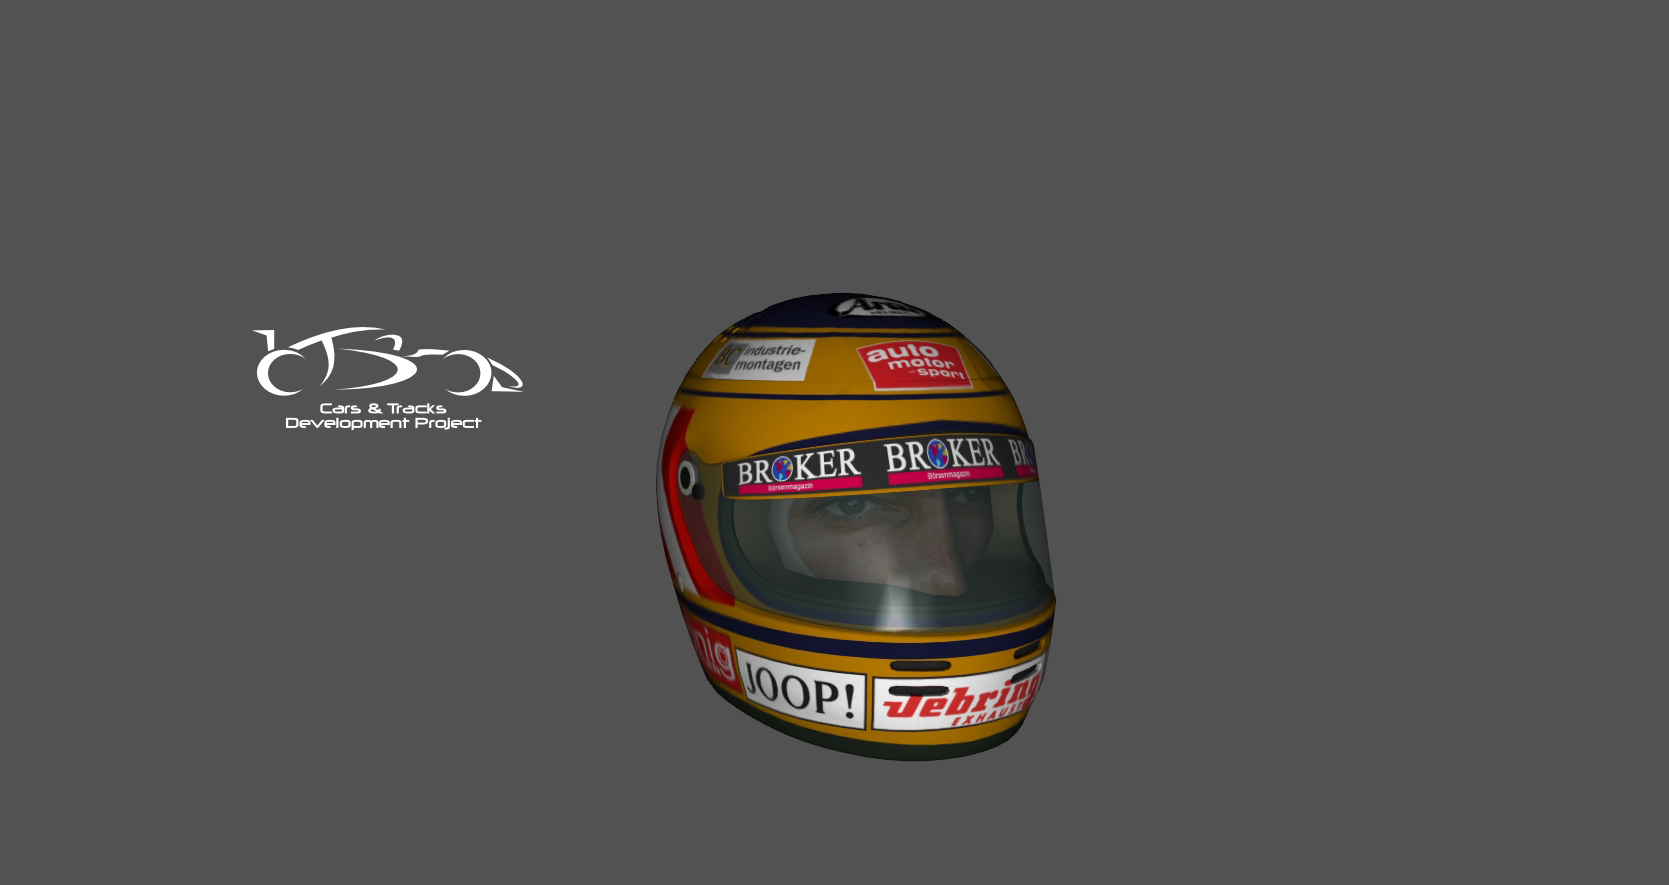
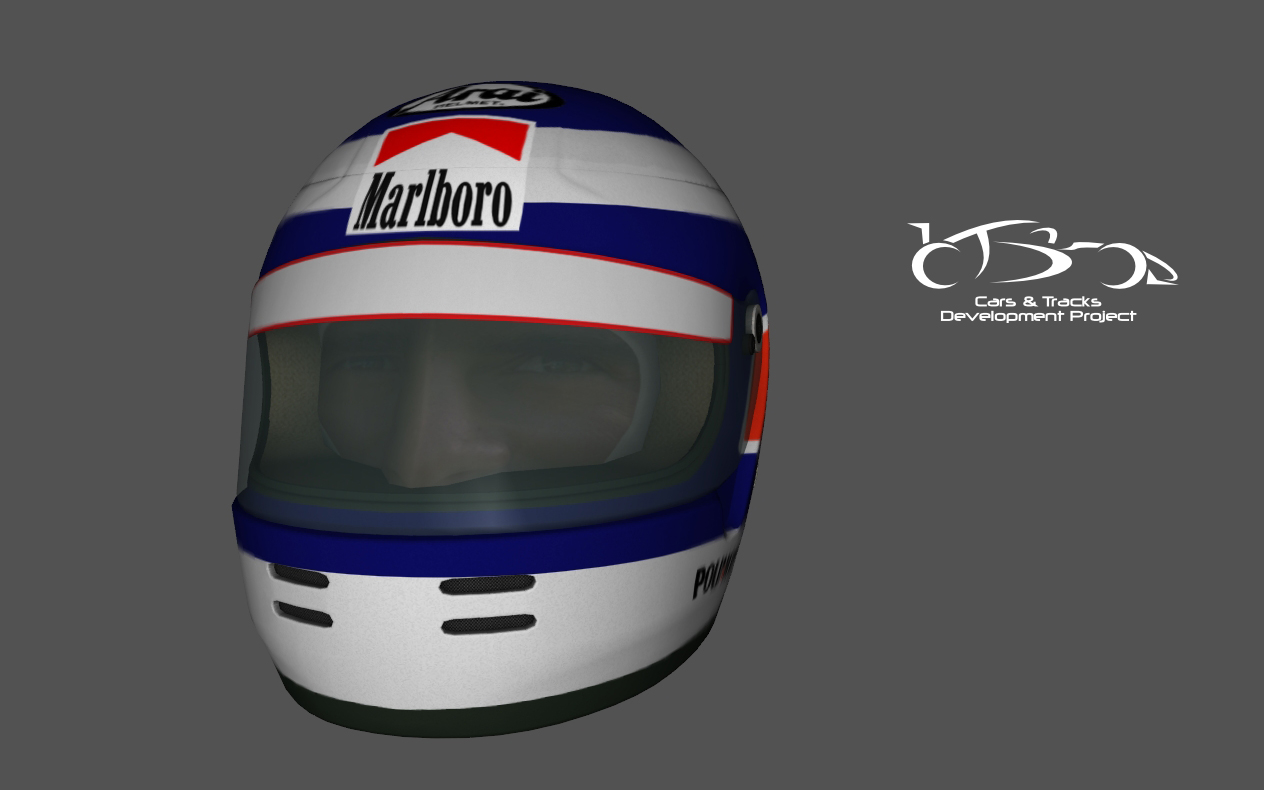
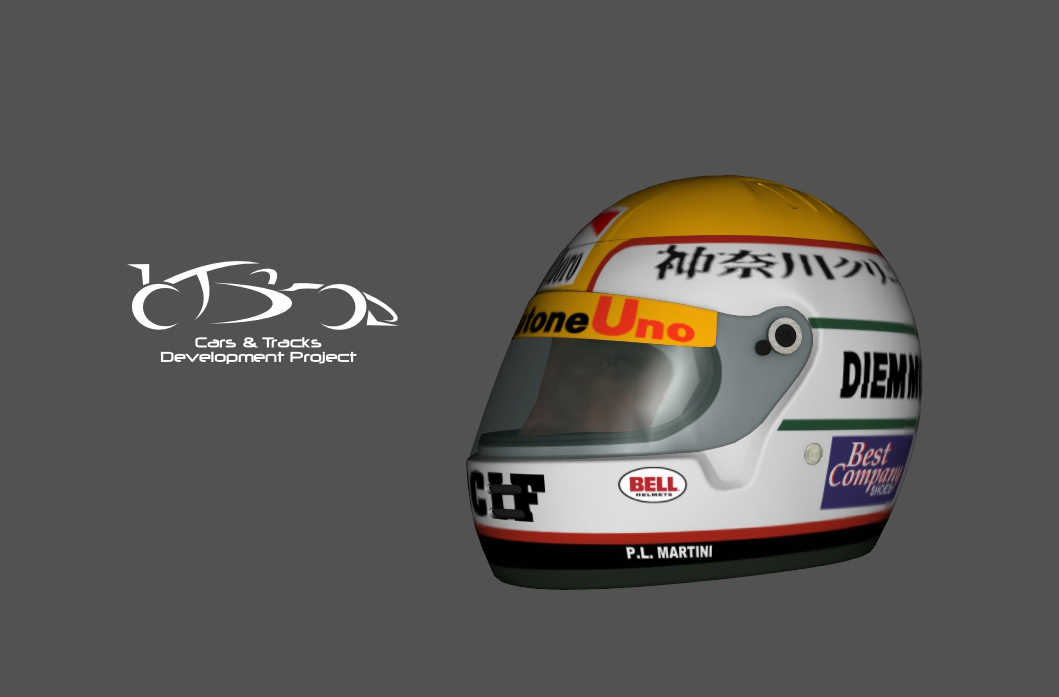
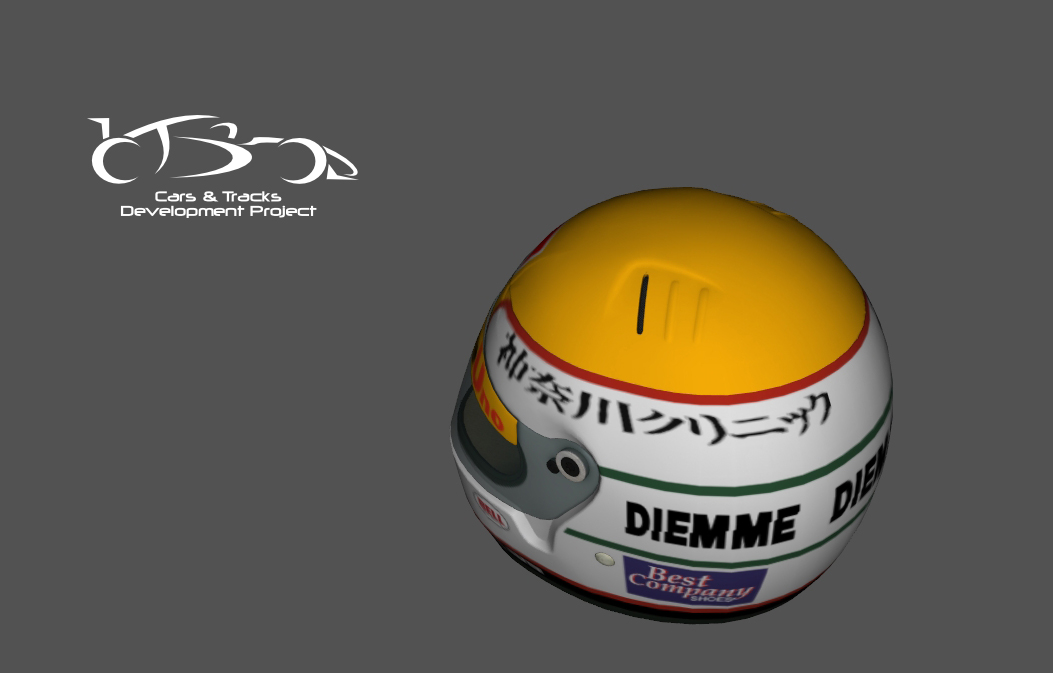
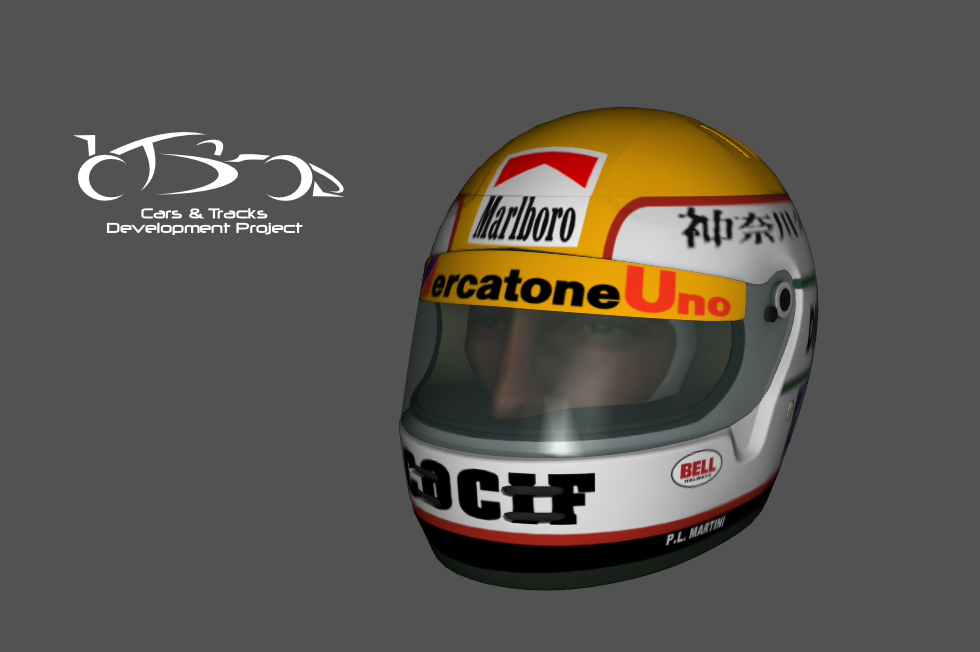
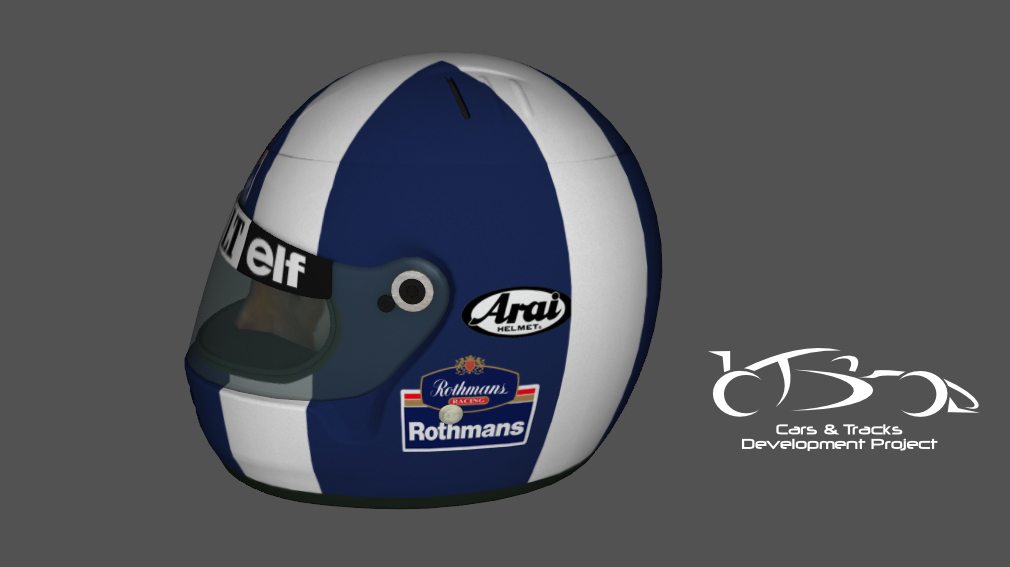
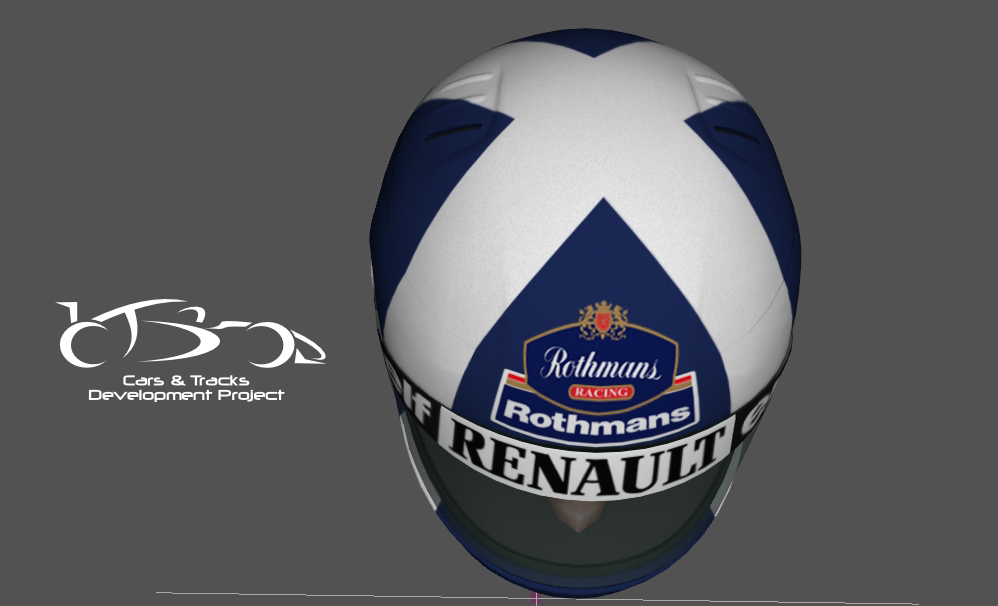
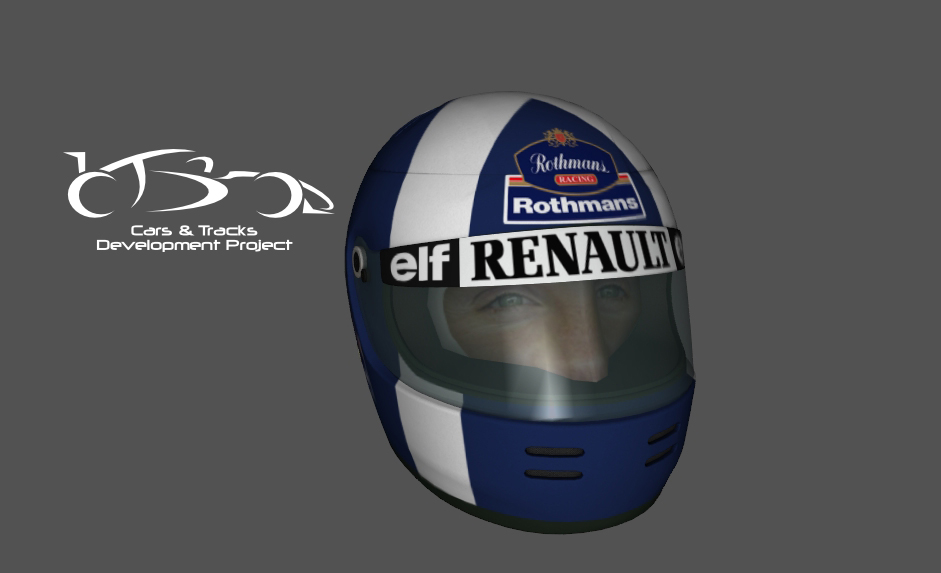
Since our open letter, we got a new designer, we welcome Neil to the team, who immediately began work on the helmets.
And helmets we need, as we have roughly 1/5th finished and many remain to be done.

For the cars the situation is much better. Dahie has been reviewing all textures and created the export scripts. We find small issues every now and then, collect and fix them. One official team texture hasn’t been finished yet.

The car model itself is done and ready. While shaders may change with future rFactor2 builds, The current look, is quite stable at the moment. Mianiak was working on the driver body (which was based on the shortly released ISI model). We had the first version ingame, but the animation didn’t convince us. The problem was not the animation itself, it was more or less caused by the insufficient rigging/weighting. Somebody within the team pointed out, it would look like the driver has broken wrists. So it didn’t fullfill our expectations and we changed plans. For the initial release we will go for a non animated driver. We will create our complete own driver model including rigging. But this may take a little bit longer. That’s why we’re using the non animated version as place holder.

Pier and Erale are working on the physics. Next to the official car manual erale already had, we got some more specs from Tatuus – the car manufacturer – helping us with some of the missing data. Grip levels, aerodynamics, suspensions are some of the usual suspects, they are trying to figure out at the moment. On a positive node, the car doesn’t spontaneously jump into the air anymore.
We recently started larger physics tests to see, how the mod handles in multiplayer and to get more feedback from users.

Outside of the mod preparations for release began. Note, the release is still a bit away, but preparations are a good way to see what’s missing and can be done easily in parallel. What’s done is done.
As we do with all our mods, we are going release templates for the IFM-2009 and with a high probably before the actual Mod-release. Dahie is working on these, the documentation and a special treat, we won’t reveal just yet.

Regarding the release, we have one big feature missing, which is rather important for a release: Sounds.
We don’t have a sound specialist at the moment and right now we’d be stuck with reusing ISI’s sounds from any of their rF2-mods released so far. We feel this wouldn’t do the mod justice, so we invite people interested and skilled in sound design to help us recreate the real feeling.

That’s it for today.

History: 15 years of car painting

I’ve been car painting for almost 14 years now. I started with GP2, joined the active community with GP3 and met with CTDP along the way. In addition to the last post about the changing times in the Modding community, I’d like to visualize that in my field of car painting and take you on a small history trip through the years.

A little glossary at the beginning. The surface of a car is not just defined by one graphic, but by multiple maps with different properties which – defined by the material – influence the look of the surface. The regular color texture is also called diffuse map. Height-differences are encoded in the normal-map (bumpmap, if the map is only greyscale). The Reflection map defines how reflective a surface is and the Specular map how much direct light is reflected. Occlusion maps can be described as the shadow applied to a car.
Continue reading History: 15 years of car painting

IFM 2009 : More liveries

While Andy and erale continue their detail modelling work on the car: such as rims and lods, our painters are busy working on liveries. Due to the normals issue, this work has been on hold for a little while and is back on track now. Dennis ‘mediocre’ Schmidt is working on JD Motorsport.
Meanwhile, we welcome our new member Patrik ‘AtomAmeise’ Bartnik, who also worked on the LMT DTM mods. His first textures for CTDP are the various liveries of Cram Competition and Trident Racing.

First IFM 2009 ingame shots

You’ve waited long enough, today we’ll show you the first ingame pictures of the IFM 2009 in rFactor 2. The car was already in the game for some time but as we mentioned in the “Mirror, Mirror” post we had to deal with some normal issues first. In the last few days we brought our new tire textures by erale ingame and also replaced the bolts that were previously painted on the liveries with texture planes. The advantage of this solution is a much more detailed texture.

The livery on the car is one of the Jenzer Motorsport cars driven by Pal Varhaug and was painted by juluka.

There is still much work to do but we’re on track. Stay tuned for more ingame pictures in the near future and some making-of tutorials.

Getting started to … Texture

Number two in our series of Tutorials to get you started into Modding. Today our topic is textures.

How do I start?

Compared to modeling, creating textures is rather simple and all good modding teams provide templates to get you started painting car designs. This is a rather autodidact approach, but a valuable nonetheless.

Turns out there are very few dedicated tutorials for car painting. They all require some basic understanding of Photoshop.

What’s next?

Get cracking and get experienced.
Be flexible in your approach to painting.
Before I repeat more platitudes, let’s get to some special skills that have a lot of potential and aren’t used very widely so far.

Using vectors

Textures are pixel-based with discrete width and heights, however Photoshop offers neat vector functionality. Instead of drawing lines, you can set up vector paths, that describe the areas and lines of the car design. Those lines are as smooth as can be and it’s very easy to change lines. With painted pixels scaling and distortion becomes very tedious and you lose a lot of quality. Instead, you can change the path and the affected area updates automatically.

One of the difficulties of painting are the edges between mapping surfaces. These seems can become tedious, especially if you have a logo that goes right across such a seam. This seperates the skilled painter from the lazy one. The latter tries to work around those bits and rather puts the logo someplace else instead of positioning it correctly. The same can be applied on design lines. Using vectors helps tremendously as you can work more exact – and again, change lines without quality loss.

Working with Vectors can be a bit messy in Photoshop and it takes some time to get used to it, admittedly. However, the benefits outweigh this by far.

Scripting

Imagine the situation the 2D artists had with the 2006 mod. Each car had 3 textures, each had roughly 50 layers with all designs and logos for 10 track variants on average. The effort of saving each texture variant, each shader maps was quite large and it quickly becomes a boring, repetitious and error-prone process. For the 1994 mod, we will do it differently using a method we should have looked into a long time ago.

Photoshop supports scripting. You can use Javascript to write linear workflows to create a build script for your texture.
This script switches defined layers on and off and specified states to files. The script is rather simple, the execution is still slow, but it far beets the manual work.
In case of our Ligier, the result are 16 texture files in TGA format. Saving right to DDS does not work, as the nvidia plugins can not be used in the script. To convert all TGA files to DDS you can use Dropps, part of my DDS-Utils. This will convert all files in one batch based on the predefined settings.

Scripting has been one major improvement of our workflow at CTDP.

No-Gos

At last, some no-gos we suggest you never do.

A difficult part about skinning a car is finding the right logos. And even more difficult: finding them in a suitable size and format. We have this problem very often working on F1 1994, especially with the smaller teams like Larrousse or Pacific. They had many sponsors, for which it is impossible to find proper logos on the internet. However, you should never ever resize a small logo to make it bigger. It will hurt the quality and leave you to ridicule.

Something else to be concerned about are the alpha channels. Alpha layers determine the amount of reflection on a certain part of the texture. Generally, the alpha layer has the same mapping as the texture. Alpha channels are greyscale only and do not support colors. The general rule is: the darker an area on the alpha layer is, the less light does it reflect. So, black will cause no reflection at all; white will mean the biggest possible reflection and is in most cases completely useless. The more reflection you have, the less you will see ingame of your actual car livery. See also this tutorial teaching what’s up with alpha channels in rFactor.

We take questions! If you are stuck with a problem or have questions related to modeling or textures ask them and we will adress them in a future post here on the blog.